How Do I Set Up This Indoor Gateway?

This Knowledge Base document is where we can track our customer feedback and use the information to improve our product support documents.
Q: I have the gateway out of the box, so what next?
I need some Step by step instructions to help me set this up that are simple and easy to follow.
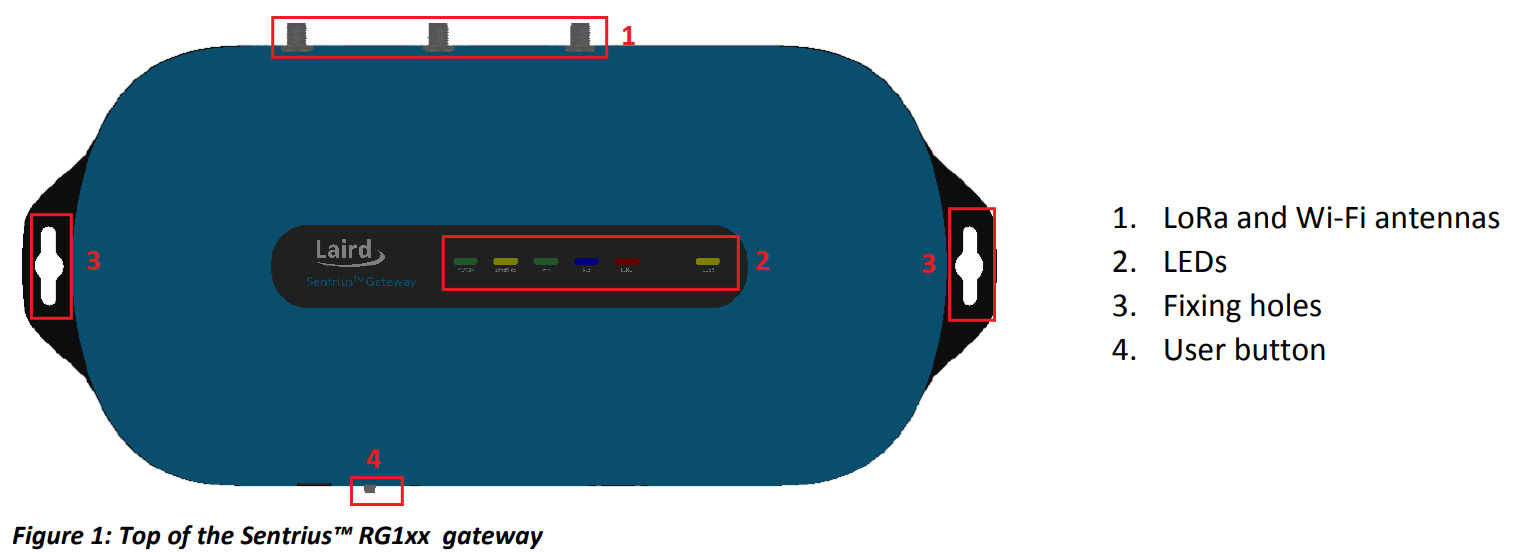
A: Product Overview

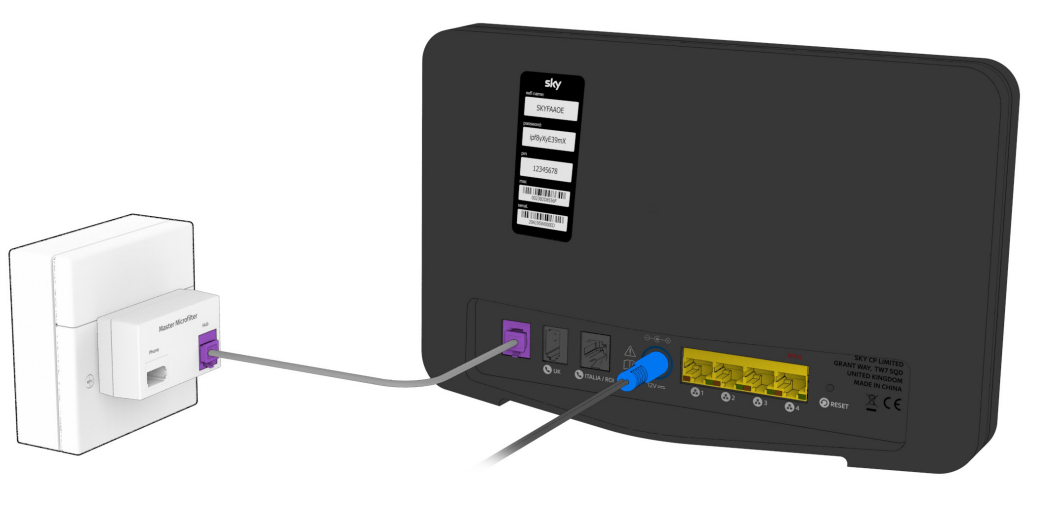
Connect the power supply into socket [1].
Connect the Ethernet Cable into socket [5] of the gateway
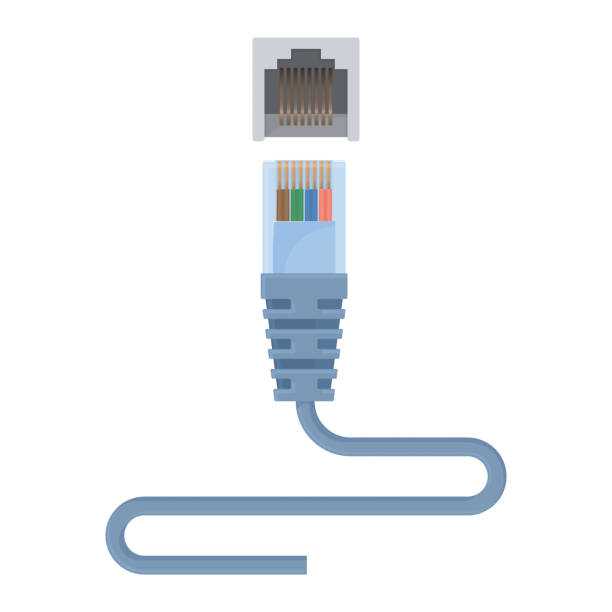
Connect the other end of the Ethernet Cable to your home router Ports 1 to 4 coloured yellow.

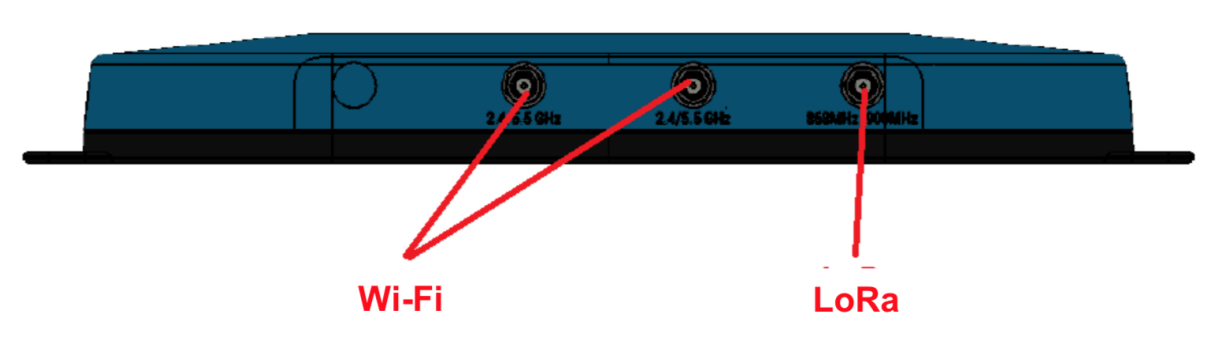
Antenna Configuration To configure the Antennas do the following:
-
Attach the 2 shorter Antennas to the 2.⅘.5 Ghz (Wi-fi) port.
-
Attach the third and longer antenna to the 868 MHz/900 Mhz (LoRa port).
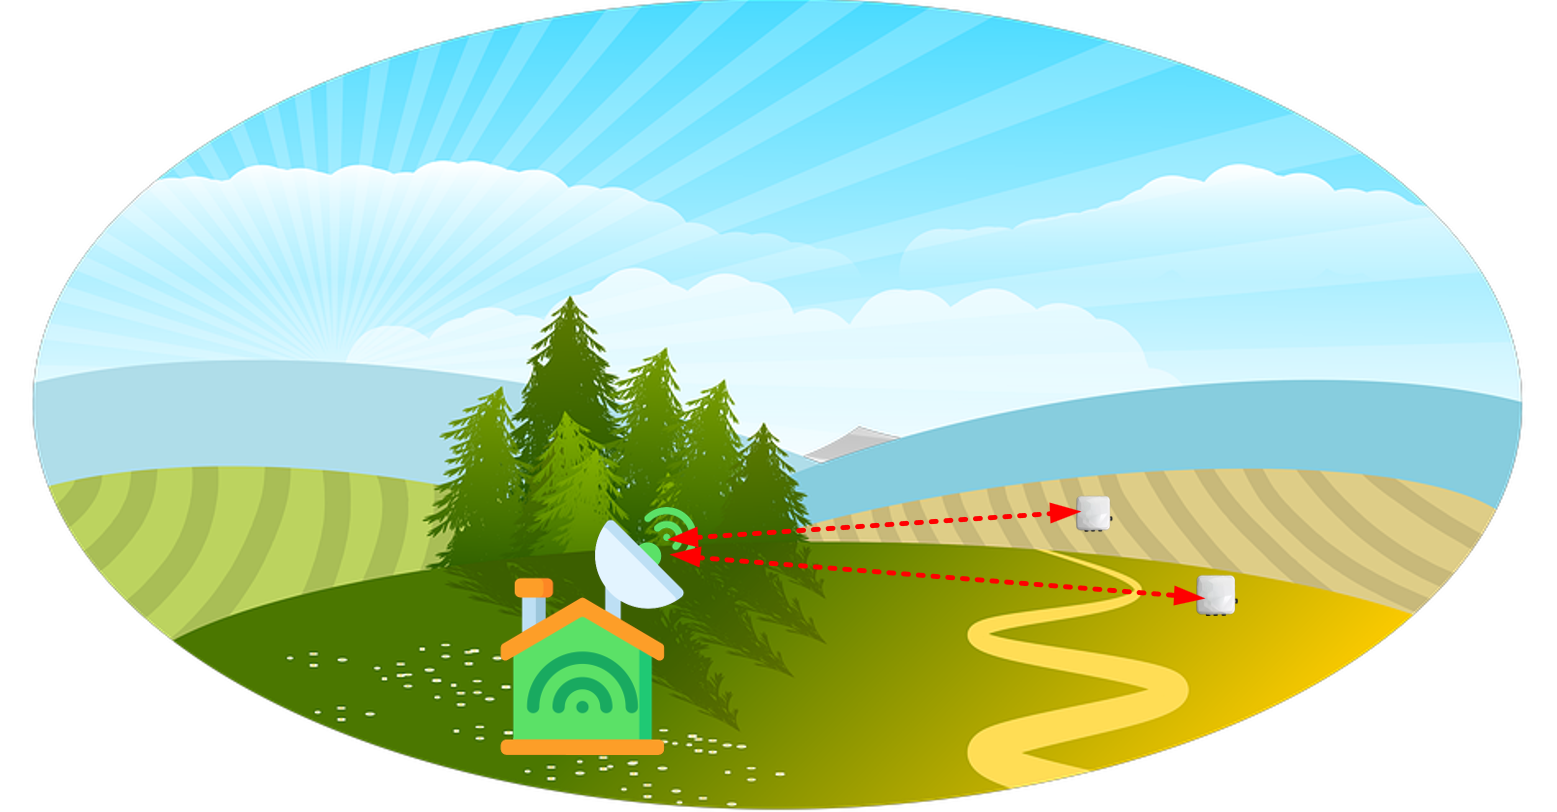
Note: Alternatively here you may instead attach other antennas as advised by the Ladybird IoT Technical Team. Typically it is advised to attach an outdoor antenna with a cable that is long enough to allow the antenna to be placed in a good position outdoors and therefore guarantee a better line of sight with the ladybirds.
Gateway Wi-fi Quick Configuration (optional)
The gateway includes a mode to allow you to configure without ethernet access, in the case that you wish to join a wireless network. Power up the gateway and wait a few seconds to allow it to start-up, then perform the following steps:
-
Depress and hold the user button (see #2 in the figure below) for seven seconds
-
The Wi-fi LED on the gateway will start to blink
-
From a wirelessly enabled device (i.e. your desktop or laptop computer) perform a Wi-fi scan
-
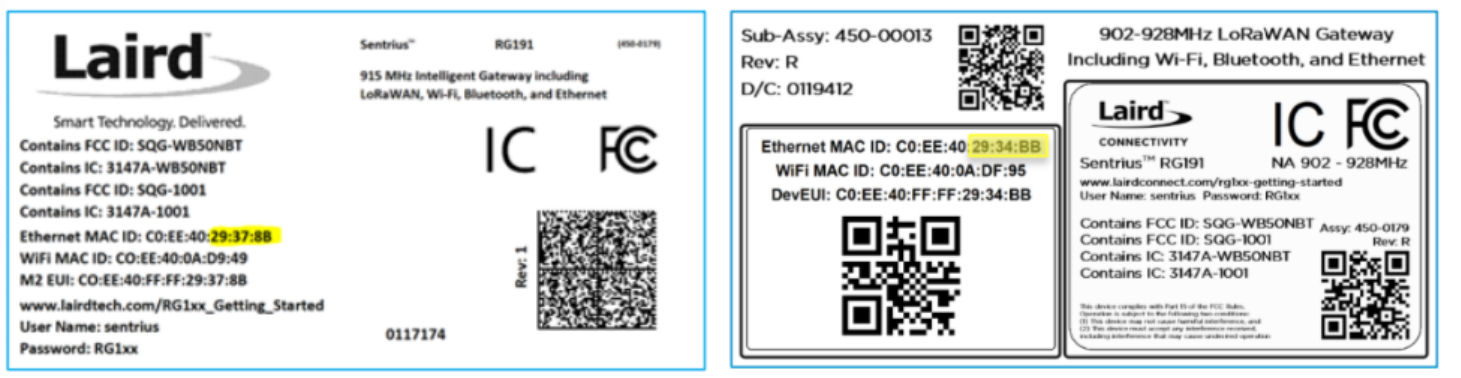
Connect to the access point rg1xx29378b, where 29378b are the last six digits of the Ethernet MAC address found on the label on the bottom of the gateway. Please note that these six digits will be different for each gateway so do expect to see different ones on yours.
The network is secured with WPA2 with a password that is the same as the SSID, so in the case above the password would be rg1xx29378b. You may change this password on the Wifi->Advanced web page. Upon logout or client disassociation, Wi-fi Quick Config shuts down.
Wi-fi Connection Setup (optional)
To log into the gateway web interface, follow these simple steps.
-
Determine the last three bytes (last 6 digits) of your gateway’s Ethernet MAC Address.
This can be found on the label on the bottom of the gateway. The last 6 digits are highlighted yellow in the sample picture below:
-
Enter the URL into the web browser to access the web interface
-
If the Gateway is connected via ethernet: for the gateway used in this guide, the URL is https://rg1xx29378B.local, where “29378B” are the last six digits of the Ethernet MAC address.
-
If in Wi-fi Quick Configuration mode: the gateway can be accessed via the URL https://192.168.1.1
-
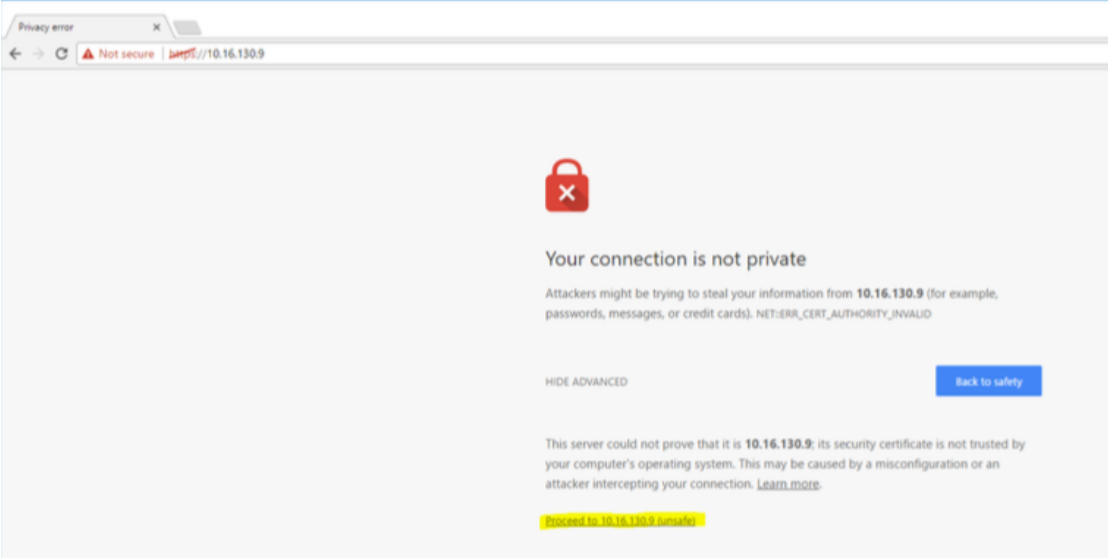
Accept the self-signed security certificate in the browser
-
Click Advanced

-
Click Proceed
-
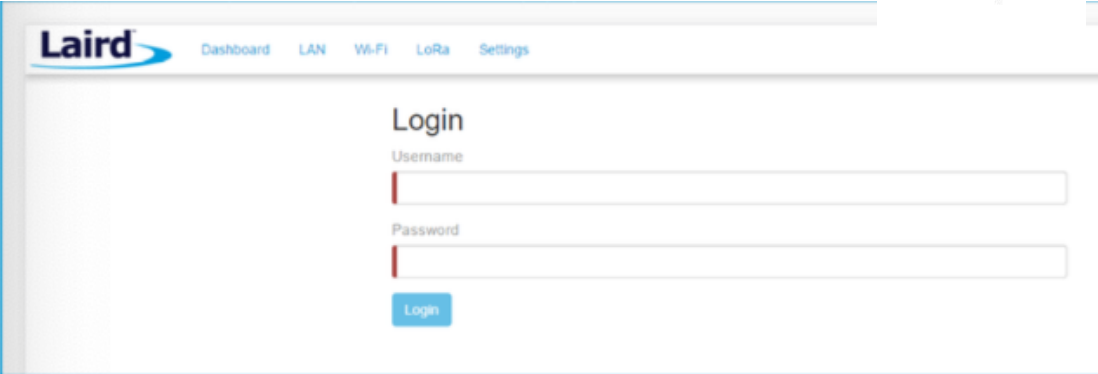
Log in using the following credentials:
Username: sentrius
Password: RG1xx
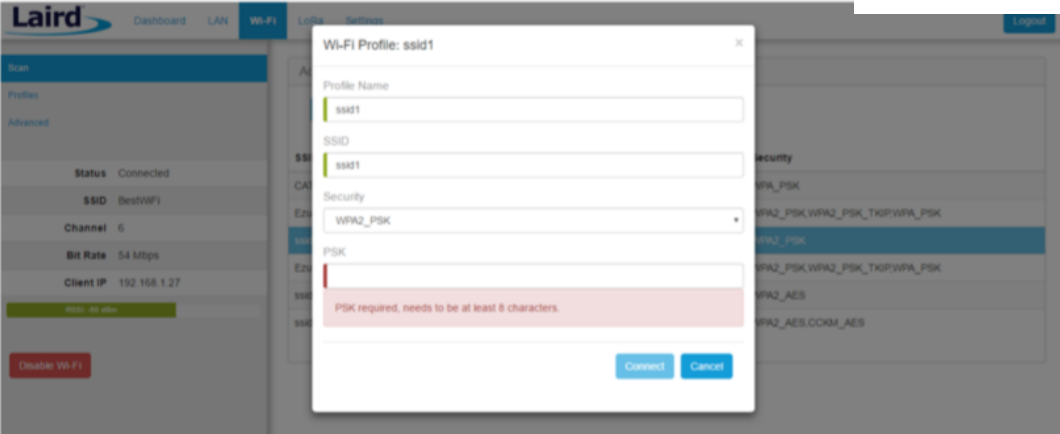
Wi-fi Connection Setup
By default the gateway’s Wi-fi Radio is not configured to connect to a Wi-fi network. The user must access the web interface of the gateway as described in the “Log into Gateway” section. To setup a Wi-fi connection, click the Wi-fi tab in the main menu
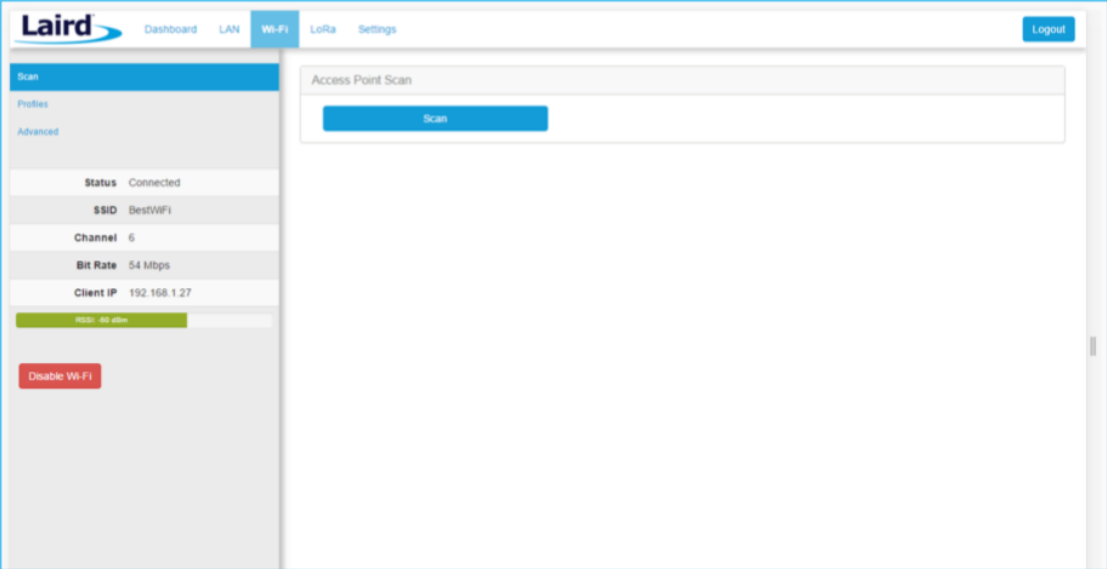
In the sidebar on the left, you can navigate to various Wi-fi pages and see the status of the Wi-fi interface. There is also a button to enable/disable the Wi-fi radio.
-
Click Scan to scan for nearby Wi-fi networks. Scanning continues until you click on one of the listed scan results.
-
Click on the Wi-fi network you would to join
-
In the Wi-fi profile window, enter the appropriate credential for your chosen Wi-fi network